> ## Documentation Index
> Fetch the complete documentation index at: https://www.ayrshare.com/docs/llms.txt
> Use this file to discover all available pages before exploring further.
# API Integration for Business
> Allow Your Users to Connect Their Social Media Accounts
An important part of the Business Plan or [Launch Plan](/docs/multiple-users/business-launch-overview) integration consists of creating new profile accounts in Ayrshare for your users or clients and allowing your users to link their social networks with the [social linking page](/docs/multiple-users/user-integration).
Each of your users is set up as an Ayrshare user profile. A user profile gets one connection to each social network.
**This is the standard way to onboard customers.** Your users connect their own
social accounts through the white-labeled connect page described below —
they never log in to Ayrshare and never touch your dashboard. The
[dashboard](/docs/multiple-users/manage-user-profiles#using-the-dashboard) is reserved for your
internal team (creating and managing profiles, testing, and posting on a
client's behalf).
## Integration Workflow
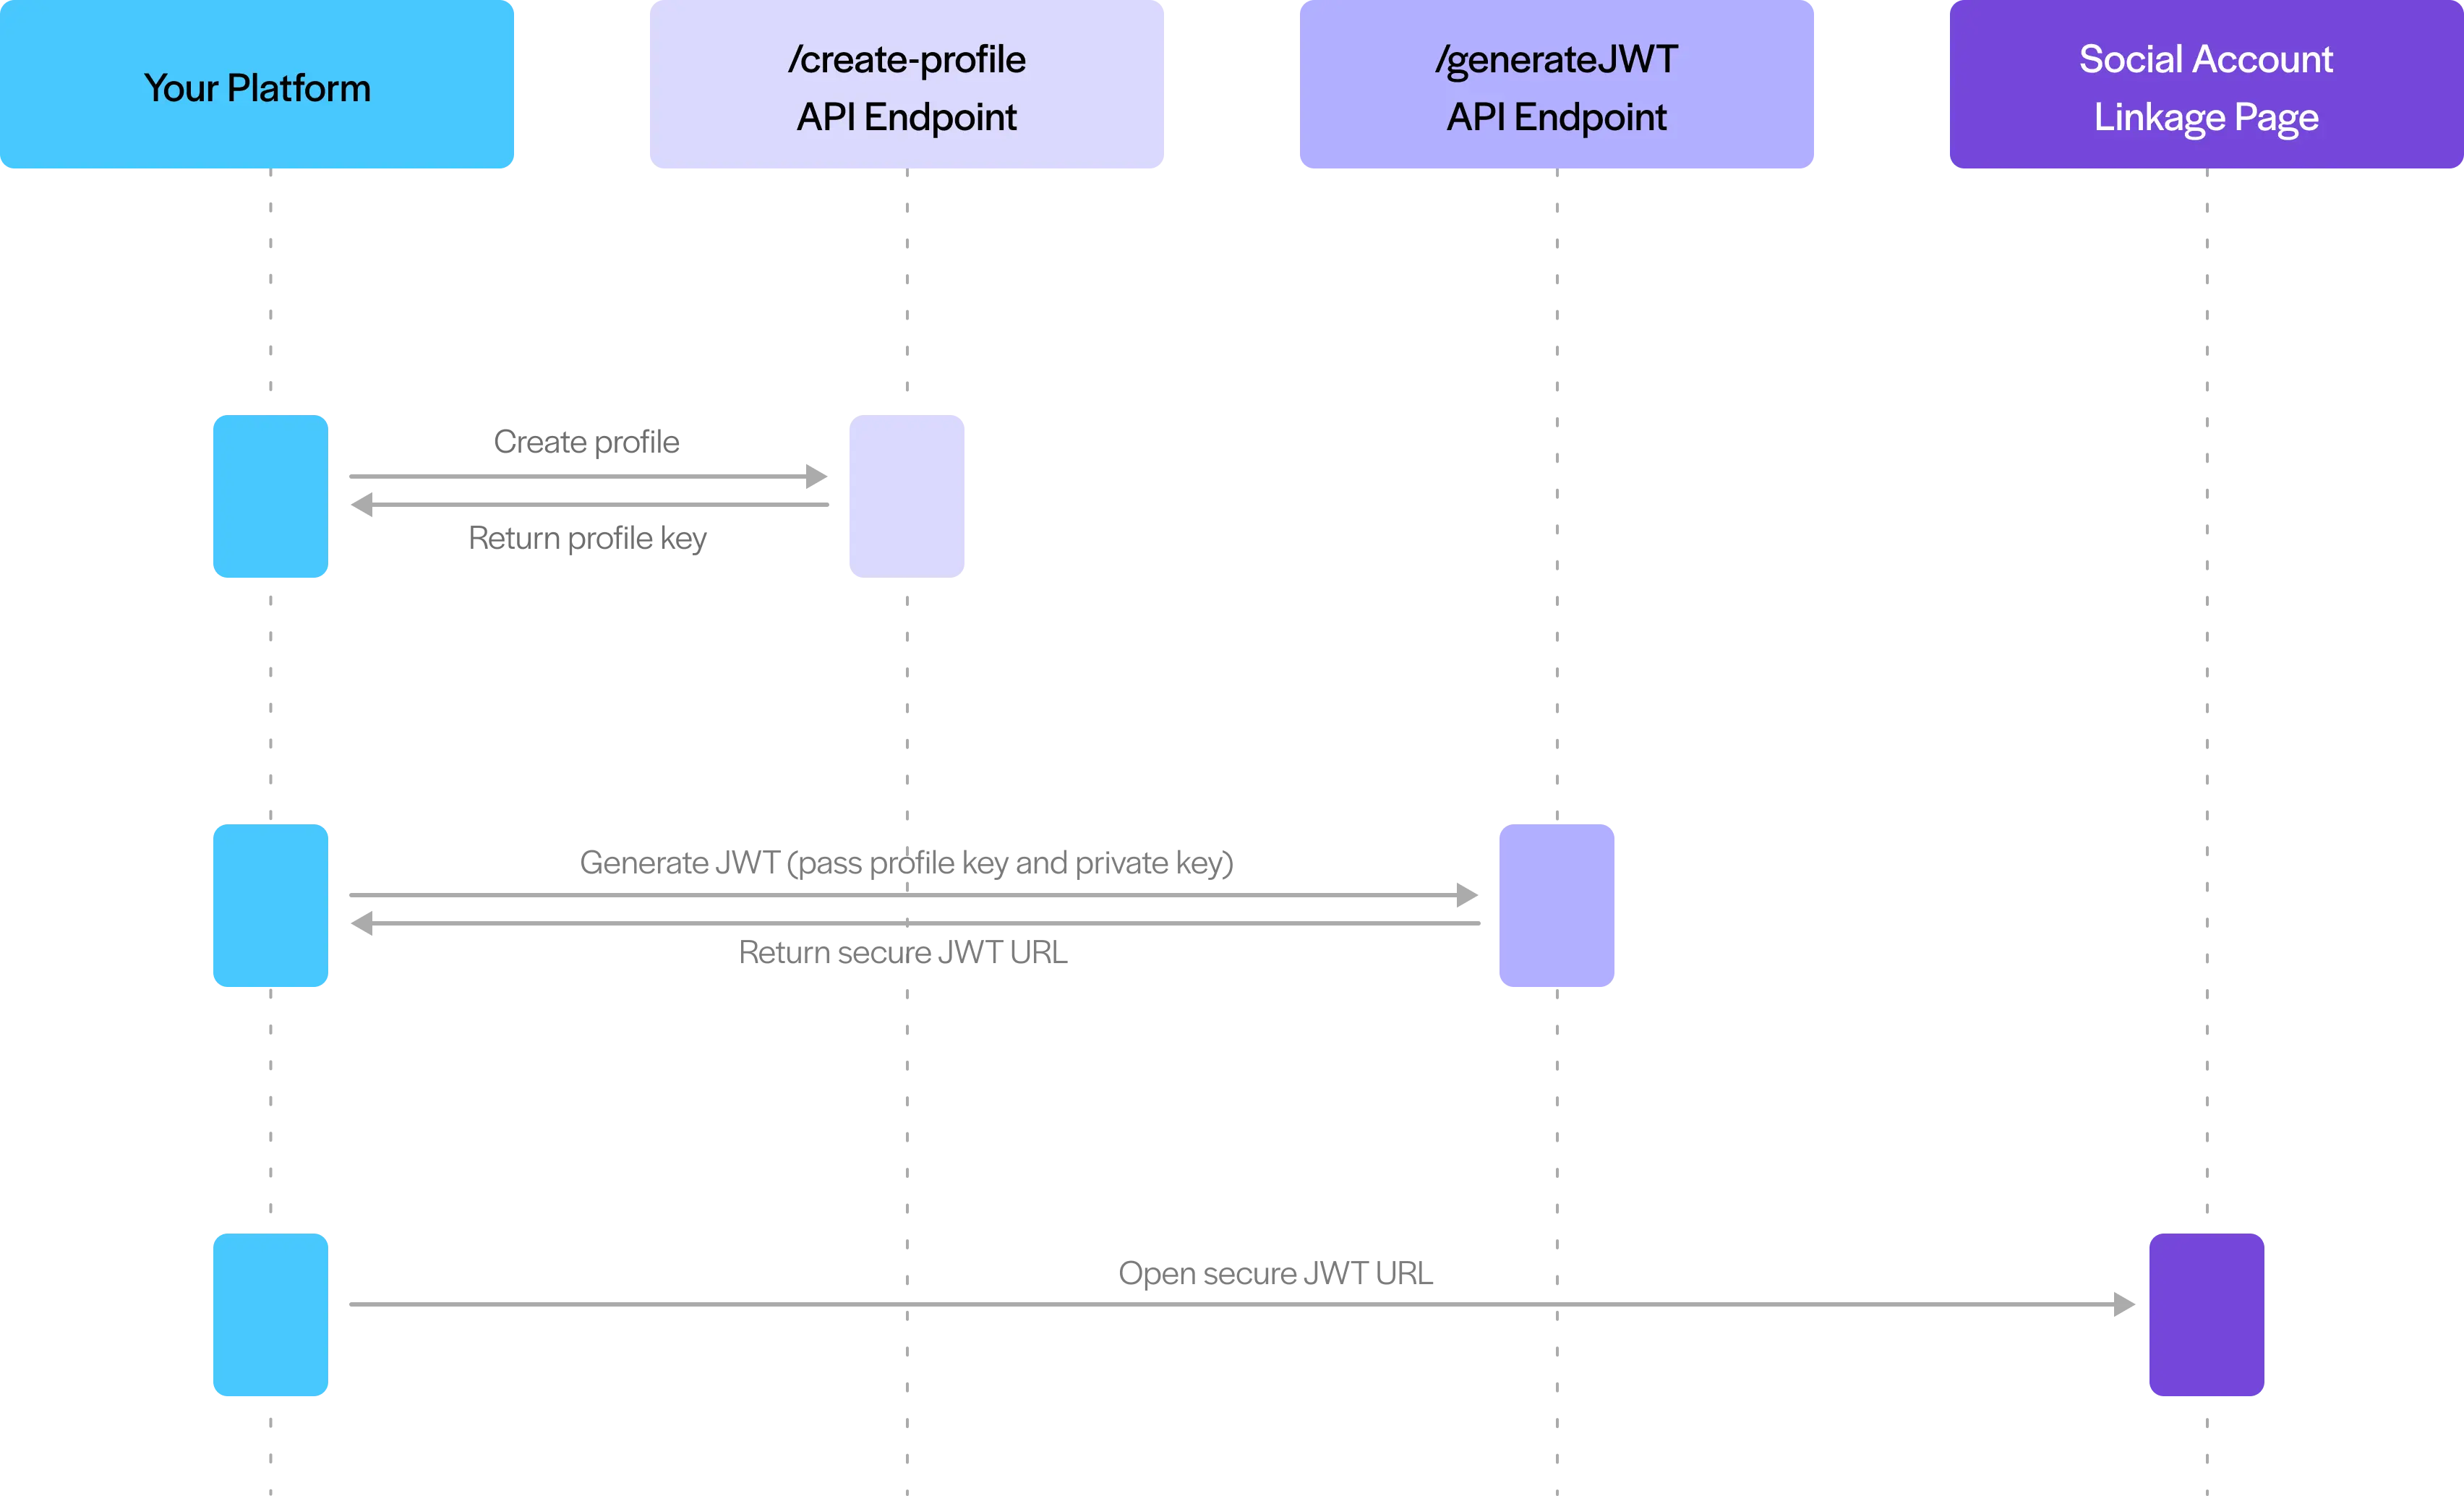
To integrate Ayrshare into your application, you'll need to make two API calls:
1. Call the [Create Profiles endpoint](/docs/apis/profiles/create-profile) to create a new Ayrshare profile for your user.
2. Call [Create a Link Session](/docs/apis/profiles/create-link-session) to get a linking URL.
The linking URL signs your user in to the social linking page, so they reach it without an Ayrshare account of their own.
You'll display this page in a new tab, window, or view controller to let users connect their social media accounts.
After your user links their social media accounts, you will be able to publish posts, get analytics, and manage their accounts via the API.
For security reasons, social media platforms require users to authenticate through their browser,
which cannot be done through backend server calls. This ensures your users can safely connect
their social media accounts by logging in directly with each platform's official login page.
Social networks restrict authentication to happen only through their authorized partner domains,
such as Ayrshare. They also block iFrames, which means you cannot embed or display the Ayrshare
linking page within an iFrame on your site.
## Create an Ayrshare User Profile
### Create a Profile with the API
When a new user registers with your system or when your client clicks the social network link in your app, create a new Ayrshare profile account by calling the [/profiles/create-profile](/docs/apis/profiles/create-profile) RESTful endpoint, or using the [NPM](/docs/packages-guides/nodejs) or [PyPi](/docs/packages-guides/python) packages.
Returned from this call will be your user's *PROFILE KEY*. This key will be used to post on your user's behalf and to manage their account. You should store it in a secure location.
### Create a Profile with the Dashboard (Internal Team)
Your internal team can also create User Profiles directly from the **Developer Dashboard** — useful for testing, onboarding a profile manually, or one-off administration. This is a team tool, not a customer-facing flow: your customers are never given dashboard access and are always onboarded through the [connect page](#single-sign-on-with-jwt-authentication). For production onboarding, create profiles programmatically with the [API](/docs/apis/profiles/create-profile) so each new user is provisioned automatically.
### Integration Package
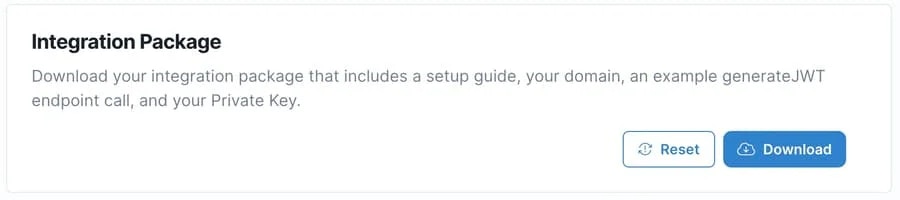
During your onboarding as a Business Plan or Launch Plan client, you received a personalized integration package with important set up and domain information, example endpoint calls, and more. Please check with your primary account holder for this information.
You may also retrieve or reset the integration package in the dashboard in the API page. Be sure to first switch to your Primary Profile.
Single Sign-On to the Social Linking Page
Ayrshare signs your user in to the social linking page for you. You create a **link session** and open the URL it returns; there is nothing for your app to construct and nothing to sign.
Create a Linking URL
Call [Create a Link Session](/docs/apis/profiles/create-link-session) with the user's `Profile-Key` in the header. It returns a `url` carrying a short-lived, opaque session token:
```javascript Linking URL theme={"system"}
https://profile.ayrshare.com?session=ayr_ls_kJ8mQ2vX9pLnR4tYwZ6aBcD1eFgH3iJkLmN0oPqRsTu&domain=YOUR_DOMAIN
```
Send it to your user exactly as returned and open it in a new tab or window, so they can [link their social networks](/docs/multiple-users/user-integration). The token exists only inside the URL — never in a body field you have to store — and the URL signs your user into their profile, so treat it like a password and send each one to a single user.
The URL is valid for **5 minutes** by default. Use `expiresIn` to set a different window, up to
2880 minutes (48 hours), which requires the [Max Pack](/docs/additional/maxpack).
You can also [check whether a link has been opened](/docs/apis/profiles/get-link-session) and [revoke it](/docs/apis/profiles/revoke-link-session) before it expires.
[Generate a Linking URL](/docs/apis/profiles/generate-jwt) (`generateJWT`) does the same job and keeps
working unchanged, so links you have already handed out are unaffected. It is deprecated for new
integrations and has no removal date. Its `privateKey`, `base64` and `verify` parameters are still
accepted and are ignored — nothing is signed on your side, and you no longer need the private key
we issued you.
The linking URL is the recommended onboarding path for every customer. Your users authenticate
directly with each social network on their own — you never collect or store their social
credentials. If your team needs to link an account manually during testing, you can do so from
the dashboard, but this is an internal convenience and not how customers should be onboarded.
**Three ways to connect an account, and this page describes one of them.** The hosted linking page
above shows your user every network you permit, on a page we host and you brand. If you would
rather the connecting happen inside your own dashboard, the
[Ayrshare Connect widget](/docs/multiple-users/connect-widget) embeds our buttons directly in your
layout, and [Direct Mode](/docs/multiple-users/connect-direct-mode) opens one network at a time from a
popup you manage yourself. Both pages open with the same comparison.
### White-Label the Connect Accounts Page
Because the connect page opened by the linking URL is the only Ayrshare interface your users ever see, you should brand it as your own. Add your logo and custom headers, choose which social networks appear, set the page language, and use your own help links — and with the [Max Pack](/docs/additional/maxpack), apply a full custom CSS file, favicon, page title, and footer. These options are configured once by your team from the Primary Profile and apply to every linking URL you create.
See every branding and customization option for the connect page.
Automatic Logout of a Profile Session
**How to Automatically Logout of the Active Profile Session**
If a profile is already logged in, sending a different profile's linking URL will not switch profiles. This is done to make the experience faster for already logged-in users. When testing, log out of the current profile before making an SSO call with a different profile. Signed-in profiles remain signed in until explicitly logged out.
However, if you have a business need, such as your users having multiple profiles they often access, or you want to test, include the URL parameter in the SSO URL:
`logout=true`
For example:
`https://profile.ayrshare.com?session=[session token]&domain=[domain id]&logout=true`
This forces a logout and then logs in the new profile.
You can also set the `logout` body parameter on [Create a Link Session](/docs/apis/profiles/create-link-session) to have it added for you.
**Warning**: Using automatic logout causes a performance delay for your user, so unless you need it, we suggest not forcing a logout and not using it in production.
## Opening & Closing the Social Linking URL
The Social Accounts page has a "Close" button that closes the window and returns your user to your site.
### Opening the Social Linking URL
When you open the social linking URL, we recommend using JavaScript's `window.open()` function instead of an anchor href.
The "Close" button uses JavaScript to close the window, and most browsers only allow windows opened via a script to be closed.
You can use the following sample code on your website to launch the social linkage window.
```html Window Open theme={"system"}
Link Social Networks
```
or
```html Window Open Function theme={"system"}
```
You may control the "Close" button to either redirect the social linking tab to a page of your choosing or redirect the origin opener tab/window and close the social linking tab.
This can be done using the redirect parameter and adding `origin=true` to the query parameters of the redirect URL.
See [Create a Link Session](/docs/apis/profiles/create-link-session) for more details.
### Redirecting When Closing
Additionally, if you want to have the `Close` button redirect back to your page (often useful on mobile), pass in the `redirect` GET parameter as a *URL encoded* string starting with https.
See the [Create a Link Session body parameters](/docs/apis/profiles/create-link-session#body-parameters) for more details.
```javascript Linking URL theme={"system"}
https://profile.ayrshare.com?session=[session token]&domain=[domain id]&redirect=https%3A%2F%2Fmywebsite.com
```
The redirect will be saved for that profile and used in subsequent SSO calls even if the `redirect` parameter is not passed.
To reset the `Close` button back to close, pass the parameter `redirect=null`.
## More Information
### User Linking or Unlinking Notifications
When a user links or unlinks a social network, you can receive a notification via webhook. Please see the [Social Action Webhooks](/docs/apis/webhooks/actions#social-action) page for more information.
You may also use the [user endpoint](/docs/apis/user/profile-details) to get the connected social networks for a user profile.
### Multiple Sets of Social Accounts
#### Overview
Each User Profile has a set of social media accounts and can make one connection to each social network.
If your users or clients have multiple sets of social media accounts, such as two Facebook Pages, two Instagram accounts, and two YouTube channels, you can manage these multiple sets of social media accounts by following these steps:
1. **Create multiple User Profiles** - [Create separate User Profiles](/docs/apis/profiles/create-profile) within the Ayrshare system for each set of social accounts your user or client needs to manage.
2. **Store unique Profile Keys** - Each User Profile will have its own unique Profile Key, returned from the create User Profile endpoint.
3. **Label your profiles** - [Title](/docs/apis/profiles/create-profile#param-title) or [tag](/docs/apis/profiles/create-profile#param-tags) each User Profile to clearly identify which social media accounts they're associated with (e.g., "Facebook Page A" and "Facebook Page B").
4. **Map in your database** - In your own system, associate all relevant Profile Keys with the respective user or client.
5. **Use appropriate Profile Key** - When posting content or retrieving analytics for a specific social account, use the Profile Key associated with that account. For example, to post to Facebook Page A, use the Profile Key of the User Profile connected to Facebook Page A.
#### Example
Let's consider a practical scenario for multiple client accounts:
**Client:** Joe's Restaurant Chain with two locations
Joe needs separate social media accounts for each restaurant location:
**Restaurant Location 1:**
Facebook Page: "Joe's Downtown Bistro"
Instagram: @joesdowntownbistro
LinkedIn: Joe's Downtown Bistro business page
**Restaurant Location 2:**
Facebook Page: "Joe's Seaside Grill"
Instagram: @joesseasidegrill
LinkedIn: Joe's Seaside Grill business page
**Implementation solution:**
1. Create two separate User Profiles in Ayrshare:
User Profile 1: Titled "Joe's Downtown Bistro Accounts"
User Profile 2: Titled "Joe's Seaside Grill Accounts"
2. Connect the appropriate social accounts to each profile:
Profile 1: Links the Downtown Bistro Facebook, Instagram, and LinkedIn
Profile 2: Links the Seaside Grill Facebook, Instagram, and LinkedIn
3. Store both Profile Keys in your database, associating them with Joe's account:
```
Client: Joe's Restaurant Chain
- Profile Key 1: abc123... (Downtown location)
- Profile Key 2: xyz789... (Seaside location)
```
4. When posting a special menu update for the Downtown location, use Profile Key 1 in the API calls. When posting about a seafood promotion at the Seaside location, use Profile Key 2.
By creating multiple User Profiles, [titling](/docs/apis/profiles/create-profile#param-title) or [tagging](/docs/apis/profiles/create-profile#param-tags) them appropriately, and associating them to a single user or client in your system, you can manage their multiple social media accounts across the same platforms using Ayrshare.
This approach allows for targeted posting and analytics retrieval for each specific account.
### Next Steps
Please see here for more details of the user experience:
Once your user sets up their social media links, you will be able to begin posting on their behalf using
the /post and /profile endpoints.
 After your user links their social media accounts, you will be able to publish posts, get analytics, and manage their accounts via the API.